Home

Electronics

Microcontrollers

  • Arduino
  • ESP32
  • Raspberry Pi

Communication & Interfaces

  • Serial Protocols
  • Network Protocols
  • REST API (Spotify Web API, ESPN API, OpenWeatherMap)

Peripherals & Control

  • Sensor Integration (Piezo, ToF, Temperature, Tilt, Light)
  • Motor Control (DC, Servo)

Signal Processing

  • Pulse-Width Modulation
  • Analog-to-Digital Conversion
  • Digital Signal Processing (FFT, Filtering)

Hardware Testing

  • Multimeter
  • Oscilloscope
  • Logic Analyzer

Spotify Controller

Spotify Controller Circuit
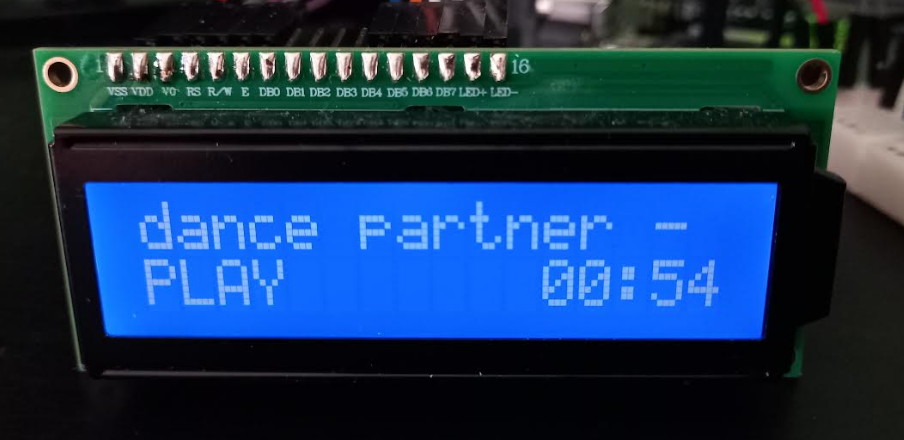
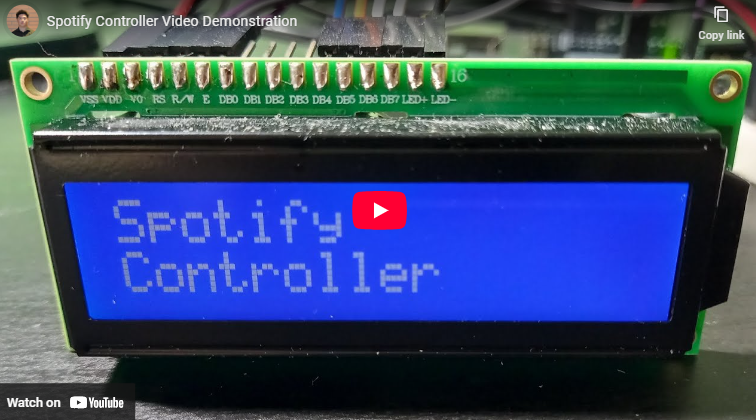
Song Display Sample
Song Display Sample
Spotify Controller Video Demo

Problem: Controlling music playback while working or doing other tasks can be inefficient. I designed a project to create a responsive, interactive controller that allows play/pause, track skipping, and volume adjustment for Spotify using hardware integration.

Solution: I integrated an Arduino with an LCD display to show the current song, artist, and remaining time, with auto-scrolling for longer titles. I used Python with the pyserial and spotipy packages, handling OAuth token-based authentication to interact with Spotify playback. Serial communication between Python and Arduino allowed sending and receiving Unicode strings encoded as bytes for smooth real-time updates.

Impact: This project strengthened my skills in API integration, continuous serial data management, OAuth authentication, and hardware/software interfacing. It also improved my ability to parse JSON data, handle redirect URIs, and build interactive systems that combine software and physical components.

Features: Python, Spotify Web API, Token-Based Authentication (OAuth), Playback Control, Serial Communication, Arduino, C/C++, LCD Display
4-Bit Arithmetic Logic Unit (ALU)

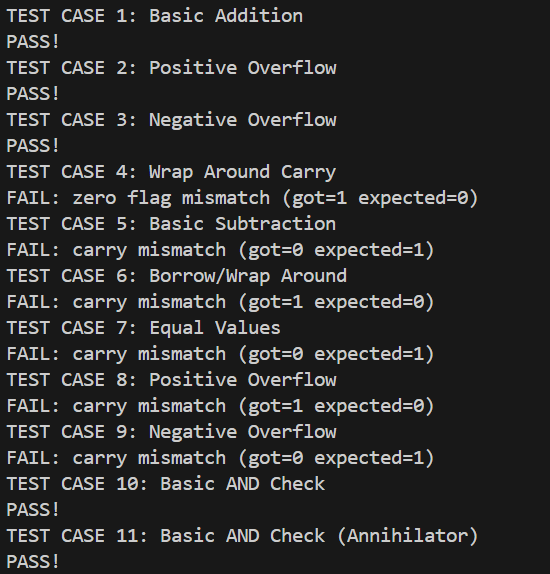
ALU Testbench Console Output
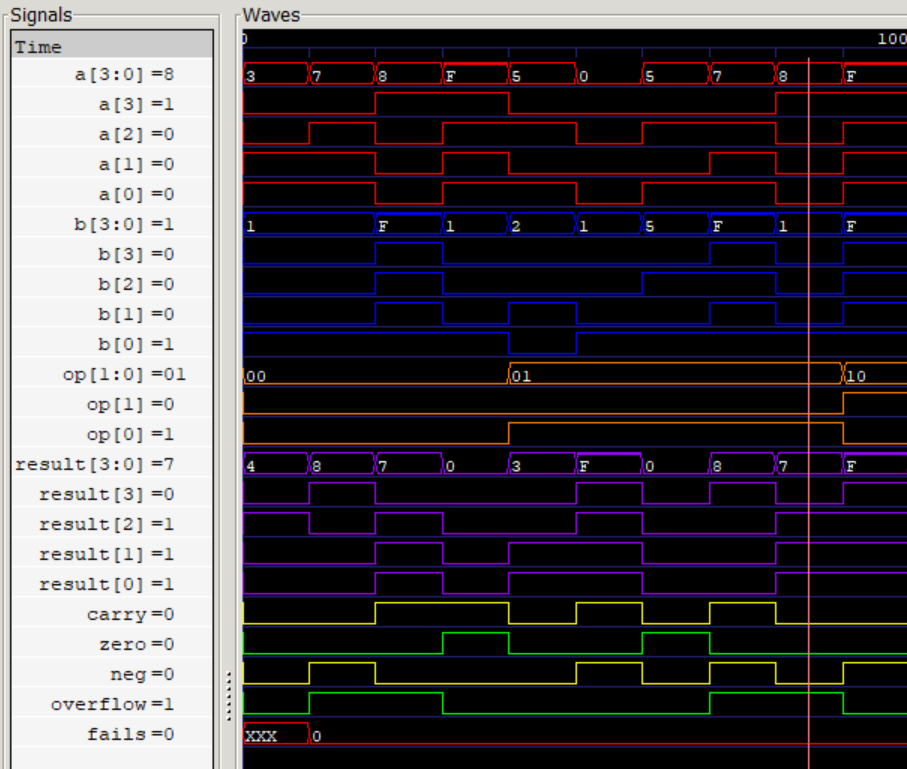
Full Logic Analyzer View (GTKWave)
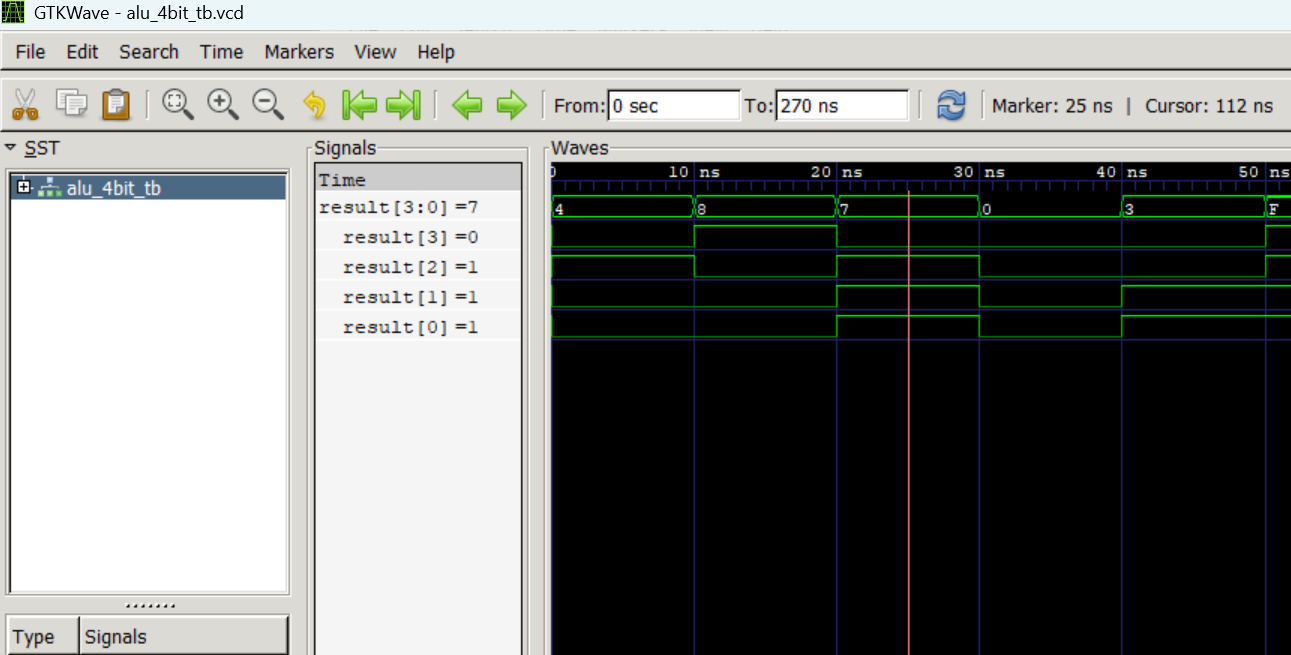
Expanded 4-Bit ALU Result Signals

Problem: Understanding how basic arithmetic and logic operations are implemented in hardware is fundamental to digital design. I designed a 4-bit ALU to explore how addition, subtraction, AND, and OR operations can be performed with flags indicating carry, zero, negative, and overflow conditions.

Solution: I created the ALU in Verilog and verified its functionality with a self-checking testbench that automatically compared outputs to expected values. I used GTKWave waveform analysis to debug signal propagation and flag behavior during edge cases, running simulations through Icarus Verilog to gain hands-on experience with the HDL toolchain.

Impact: This project strengthened my understanding of Verilog syntax, binary addition and subtraction (including wrapping and carry/borrow logic), and the significance of MSB/LSB in signed 4-bit arithmetic. It also provided practical experience in testbench creation, waveform debugging, and hardware verification processes.

Features: Verilog, GTKWave, Logic Analyzer

Webcam Controller

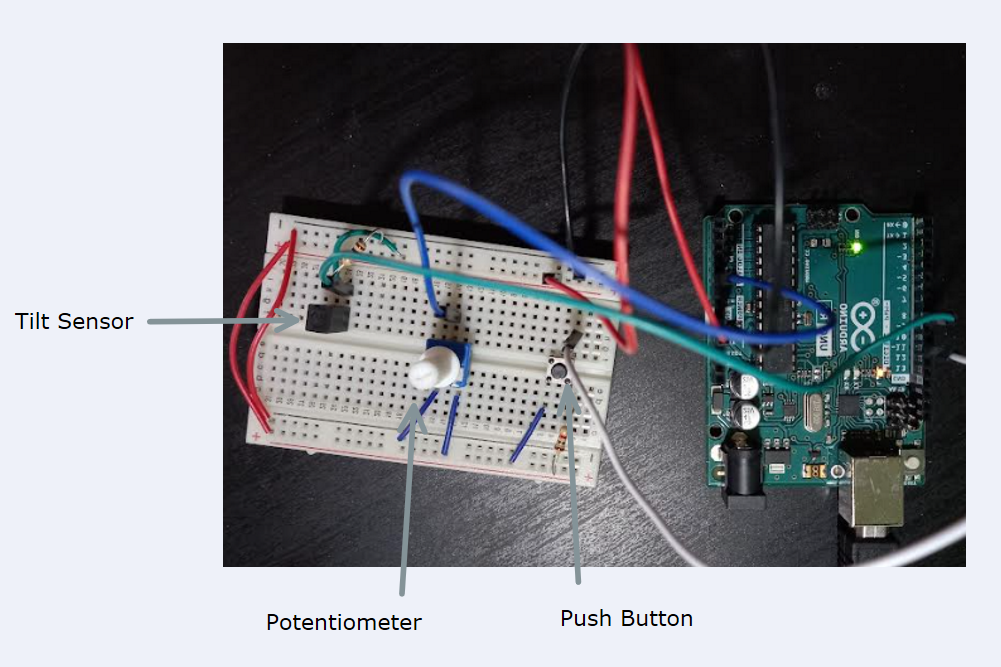
Webcam Controller Circuit
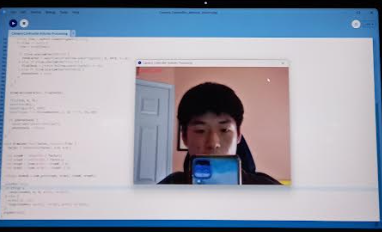
Webcam Capture
Webcam Capture
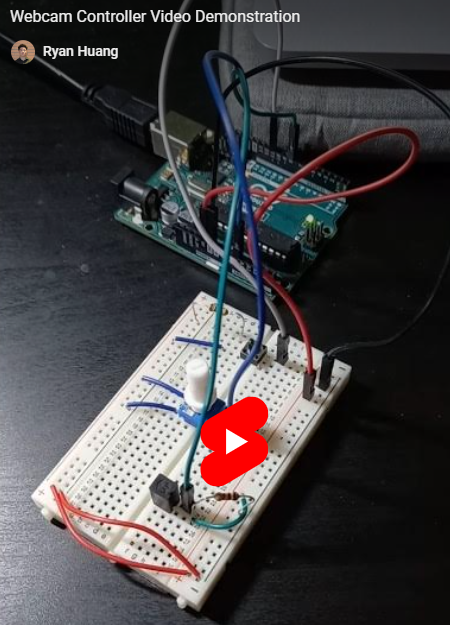
Webcam Controller Video Demo

Problem: Controlling a webcam manually can be inconvenient, and I wanted to explore how hardware could directly interface with a computer to manipulate camera functions in real time. This project gave me hands-on experience with serial communication beyond typical Arduino-only setups.

Solution: I built a system where an Arduino controller adjusts zoom and orientation, and captures images directly to the computer. Communication between the Arduino and computer used UART serial transmission at a fixed baud rate, enabling real-time control without a separate clock signal for synchronization.

Impact: This project improved my understanding of UART and serial data communication, as well as integrating hardware inputs to control software functionality. I gained experience manipulating a computer interface from an embedded device and managing real-time data transfer.

Features: Serial Communication (UART), Tilt Sensor, Java (Processing), Arduino, C/C++

Temperature Regulation Controller

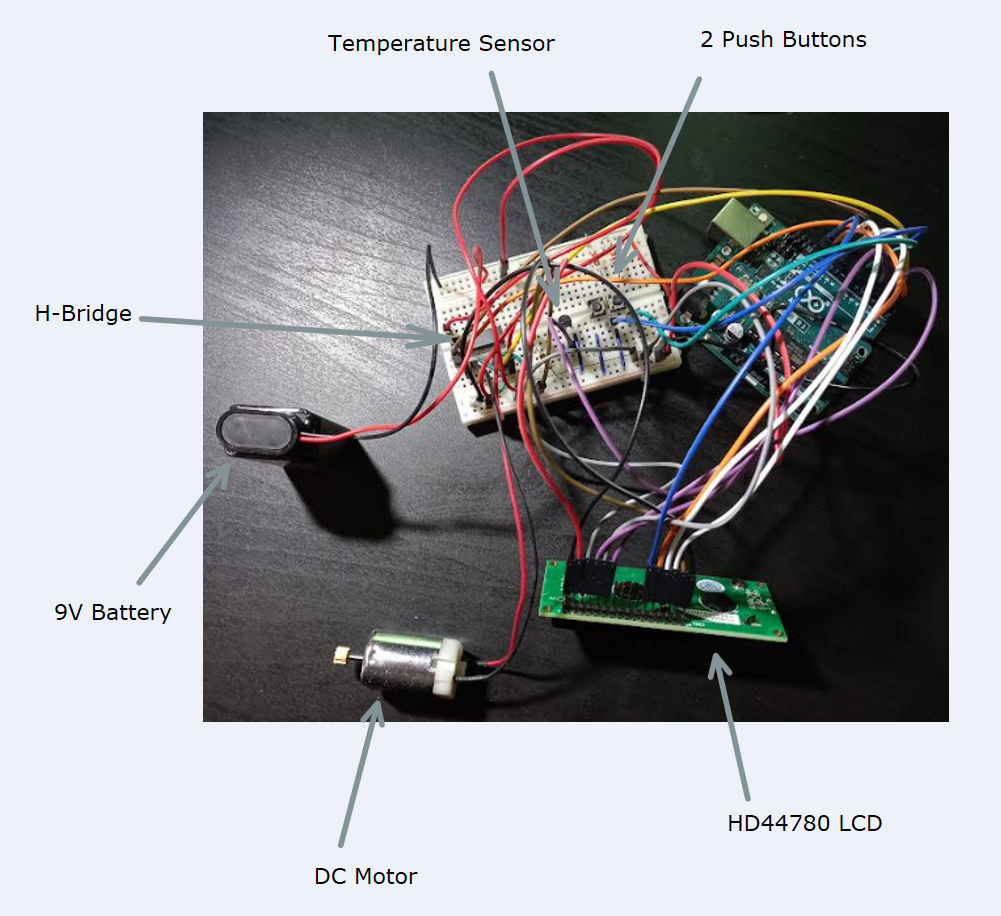
Temperature Regulation Controller Circuit
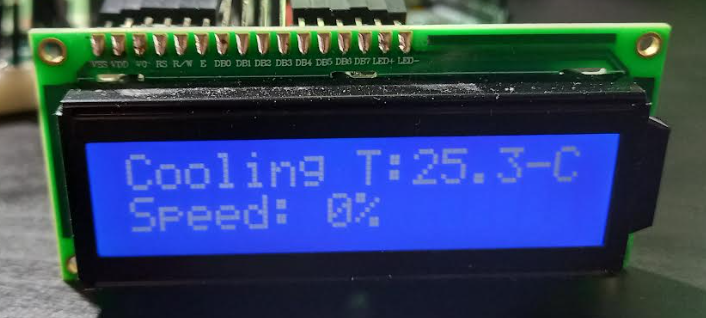
Temperature Display Example
Temperature Regulation Controller Video Demo

Problem: Monitoring and controlling temperature is important for many devices, and I wanted to simulate a system where a fan adjusts automatically based on temperature. This project allowed me to explore DC motor control and embedded feedback systems.

Solution: I built an Arduino-based system with an LCD that displayed temperature and fan speed. The fan automatically adjusted speed according to temperature, and the device included an automatic shutdown feature to simulate overheating. I used the EEPROM library to restore the last mode after reset or power loss, and powered the motor with an external 9V battery, learning to use a diode to prevent back EMF and an H-bridge for proper motor control.

Impact: This project taught me about EEPROM, motor control circuits, power handling, and protecting circuits from back EMF. I gained experience integrating sensors, actuators, and microcontrollers in a safe and functional embedded system.

Features: Temperature Sensor, DC Motor, H-Bridge, EEPROM, Arduino, C/C++, LCD Display
Bomb Defusal Simulation

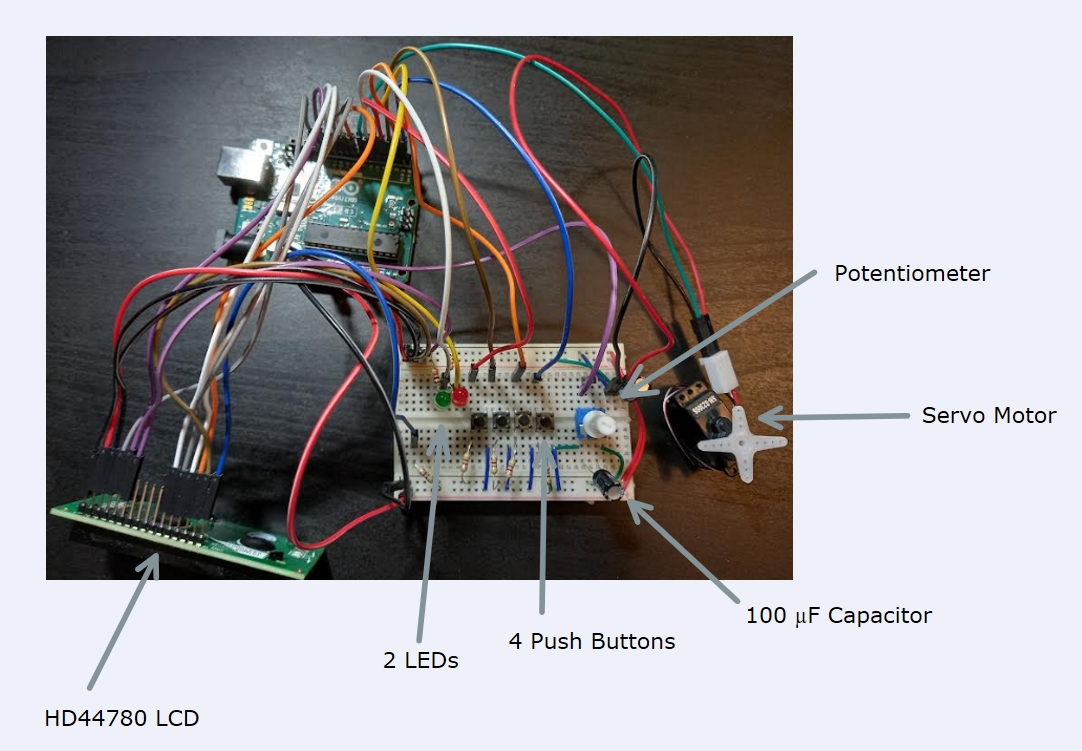
Bomb Defusal Simulation Circuit
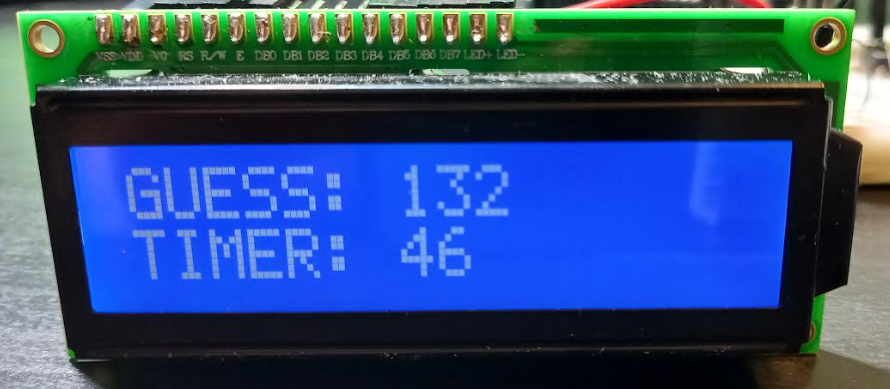
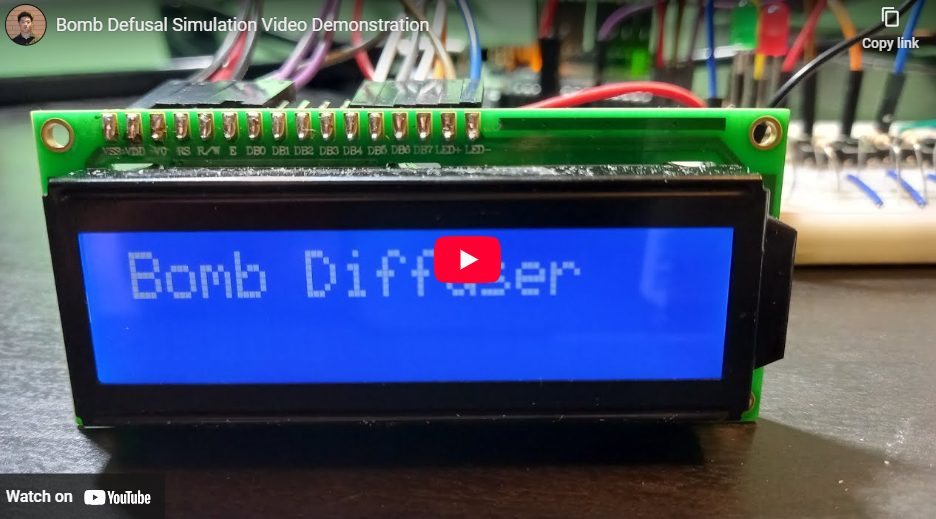
Bomb Timer and Guess
Bomb Defusal Simulation Video Demo

Problem: I wanted to design an interactive game that combined input/output systems with a time-pressure challenge. The goal was to simulate disarming a bomb, giving players a hands-on experience with real-time decision-making and feedback.

Solution: I used a servo motor to simulate a lock mechanism that revealed a four-digit code to disarm the bomb. The LCD displayed the game interface, and I added a capacitor to stabilize voltage when the servo drew high current, preventing LCD dimming and brownouts.

Impact: This project taught me about power management, servo control, and integrating interactive feedback systems. I gained practical experience in smoothing voltage fluctuations and designing responsive embedded games.

Features: Time-Sensitive Design, Servo Motor, Capacitor, Arduino, C/C++, LCD Display
Dual-Mode Piano Trainer

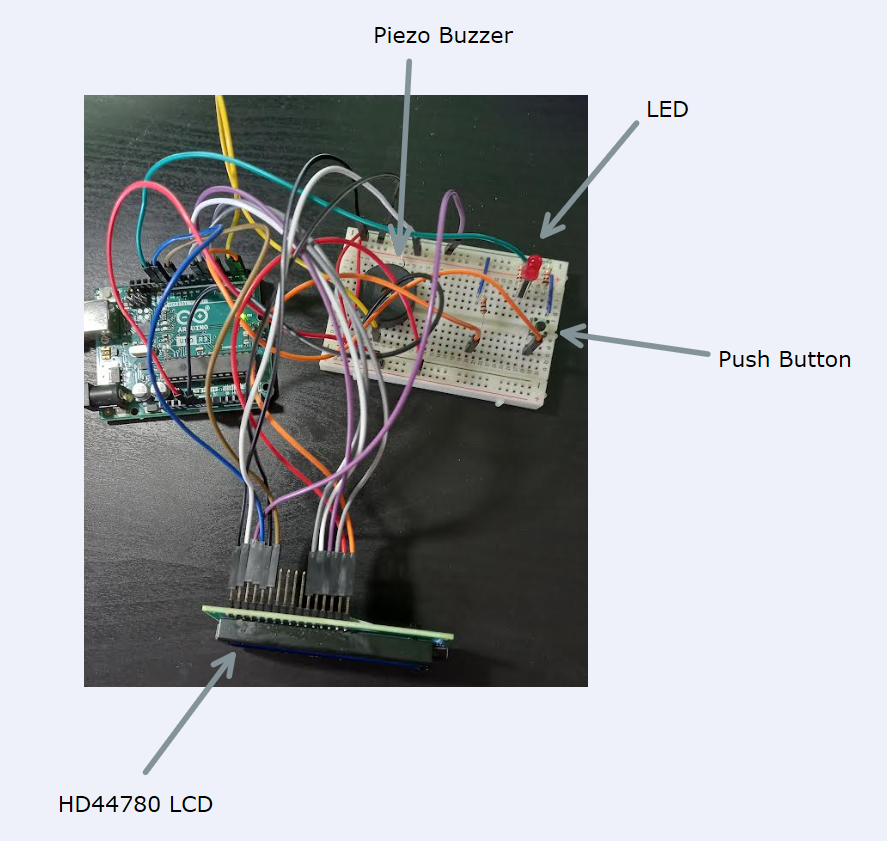
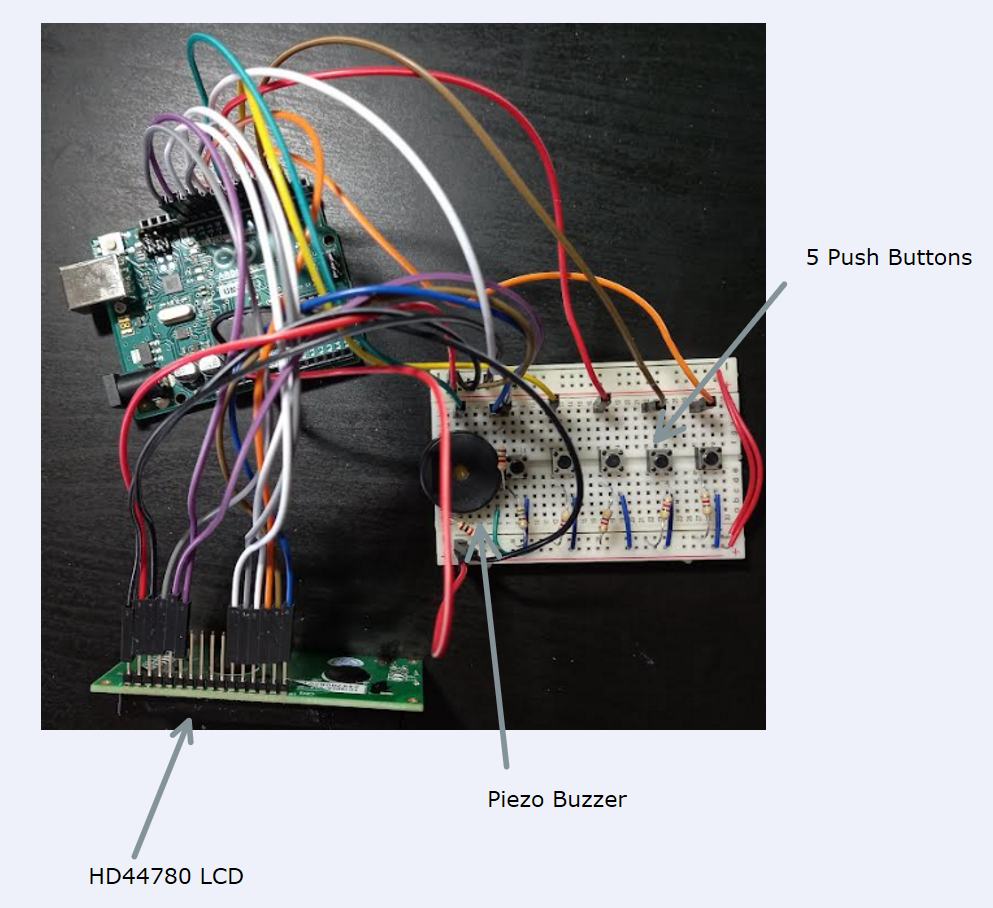
Dual-Mode Piano Trainer Circuit
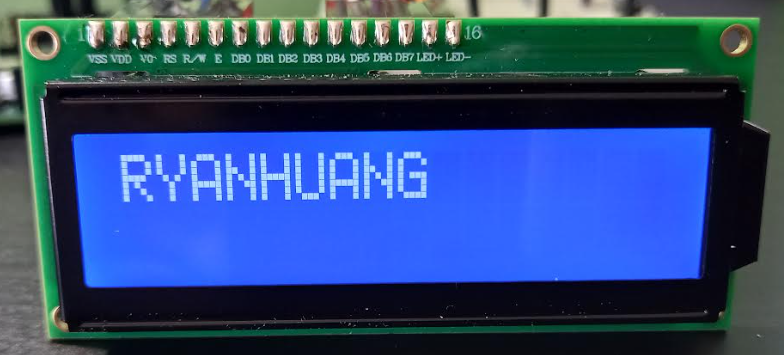
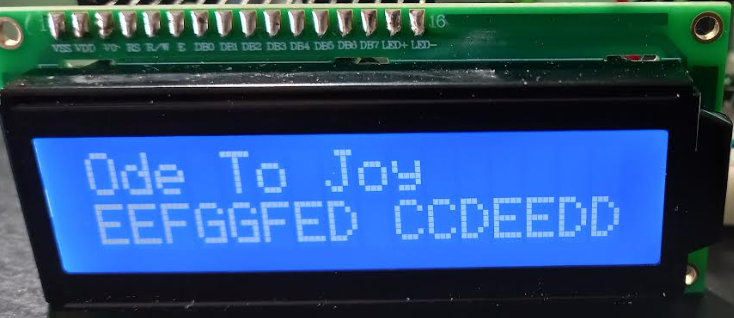
Ode to Joy Sample Practice
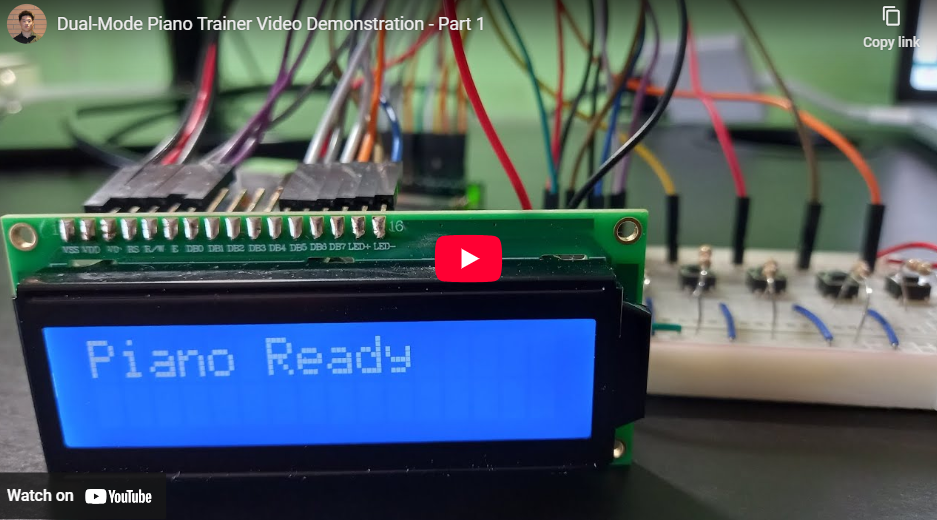
Piano Trainer Video Demo Part 1
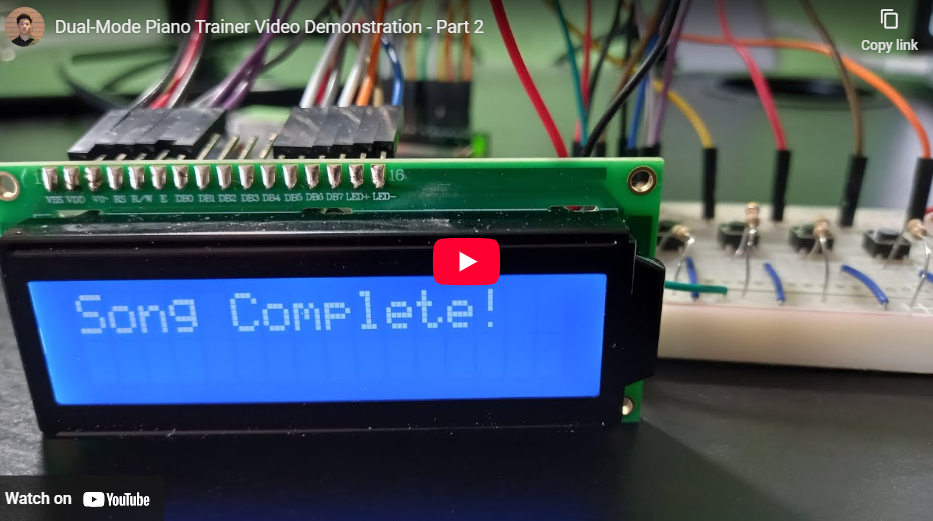
Piano Trainer Video Demo Part 2

Problem: Learning to play an instrument can be challenging without real-time guidance. I wanted to create an interactive system that combined UI/UX elements with audio feedback to make practicing piano more engaging and effective.

Solution: I built a dual-mode piano trainer with a menu to select free-play or practice mode. Free-play allows a simple five-key setup with piezo buzzer tones, while practice mode guides the user through songs like Hot Cross Buns, Mary Had a Little Lamb, and Ode to Joy with step-by-step visual cues and audio error feedback. The LCD displays scrolling text for notes and song instructions.

Impact: This project improved my skills in UI/UX design, interactive feedback systems, and embedded programming. I learned to manage LCD scrolling for dynamic content, implement mode switching, and provide real-time audio and visual responses to user input.

Features: UI/UX Design, Mode-Switching Control, Piezo Buzzer, Arduino, C/C++, LCD Display
Morse Code Simulator

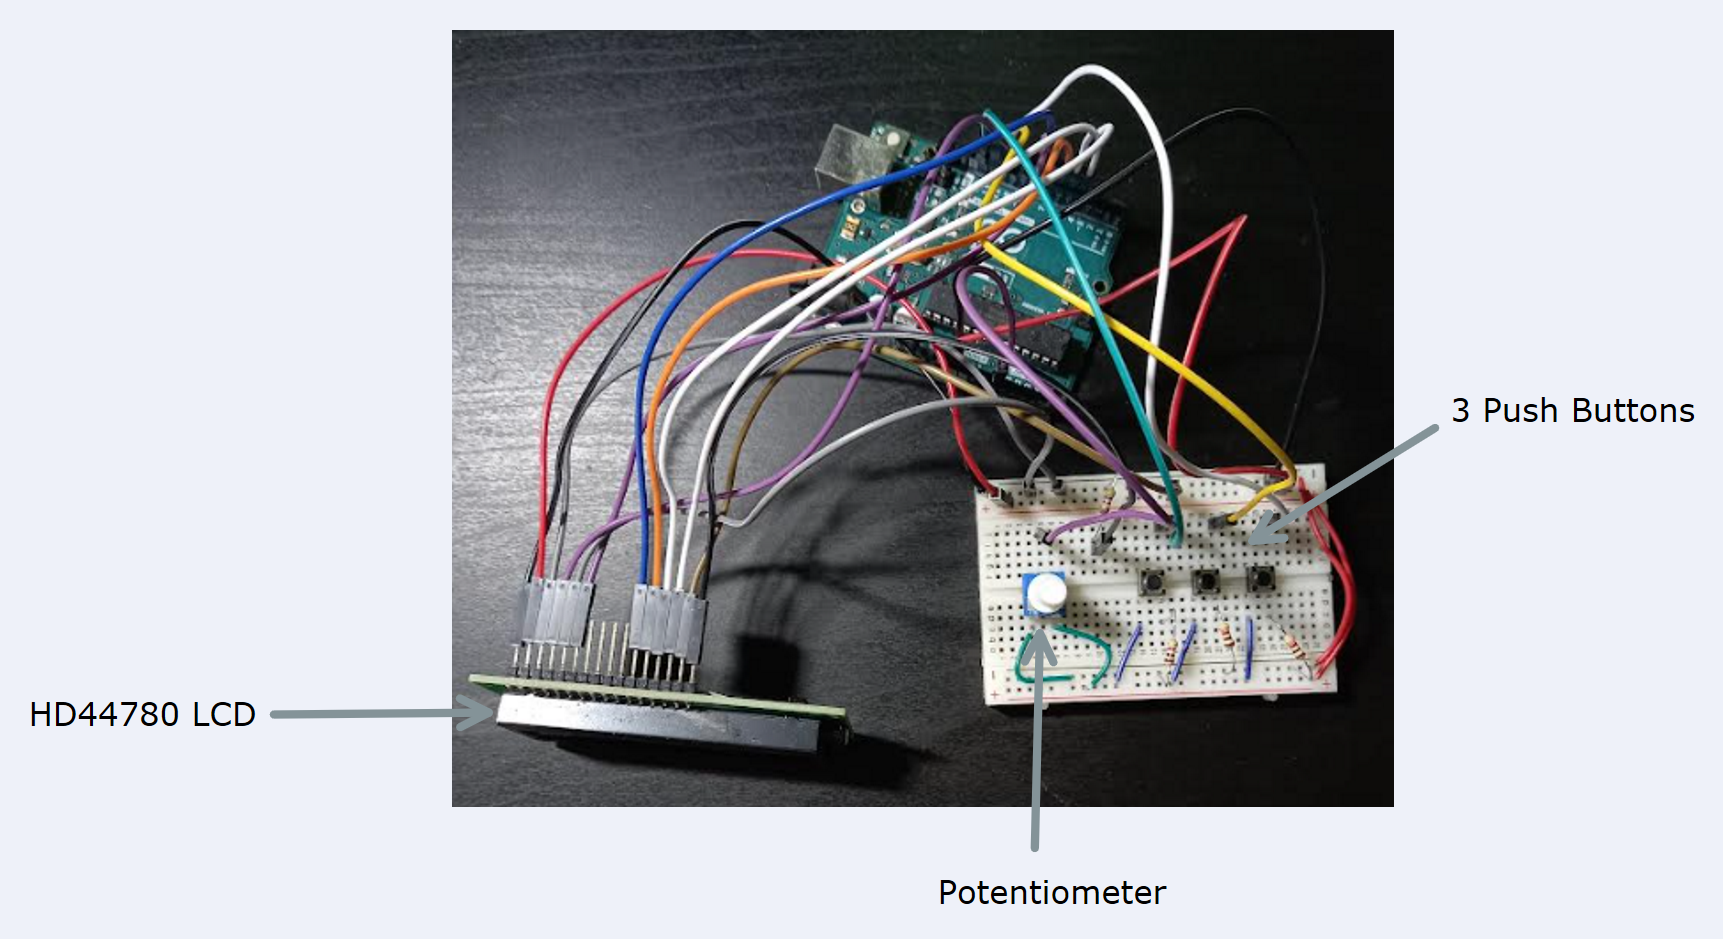
Morse Code Simulator Circuit
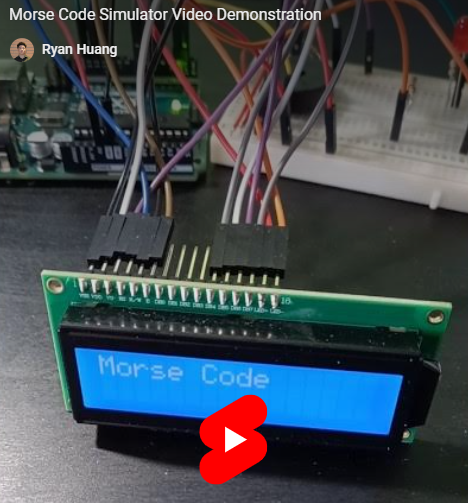
Sample Morse Code Translated Sequence
Morse Code Simulator Video Demo

Problem: Learning Morse code can be challenging, and I wanted to create a simple embedded device that translated button-pressed Morse code into text while providing visual and audio feedback.

Solution: I built a system using an LED and piezo buzzer for feedback and an LCD to display the translated text. I explored both parallel communication and I2C protocols, learning how to connect the HD44780 LCD, manage signal lines (SCL/SDA), and handle master/slave communication for efficient data transfer. I also adjusted the backlight power to ensure proper display brightness.

Impact: This project taught me about embedded I/O, communication protocols, and integrating visual and audio outputs. I gained experience with LCD interfacing, protocol differences, and practical troubleshooting for display and power management.

Features: Serial Communication (I2C), Parallel Communication, Piezo Buzzer, Arduino, C/C++, LCD Display
Nightlight Detector

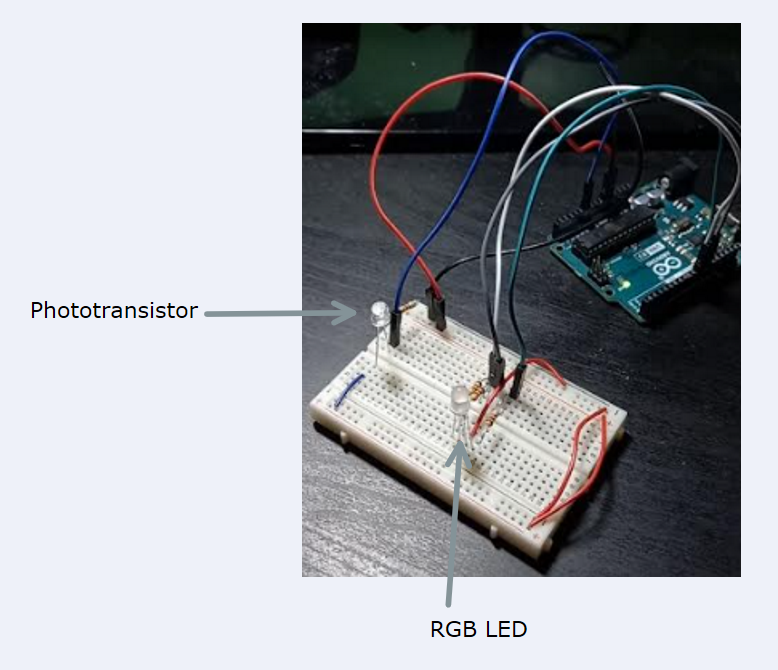
Nightlight Detector Circuit
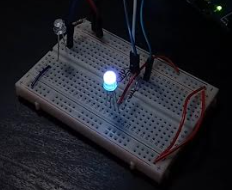
Nightlight Turned On
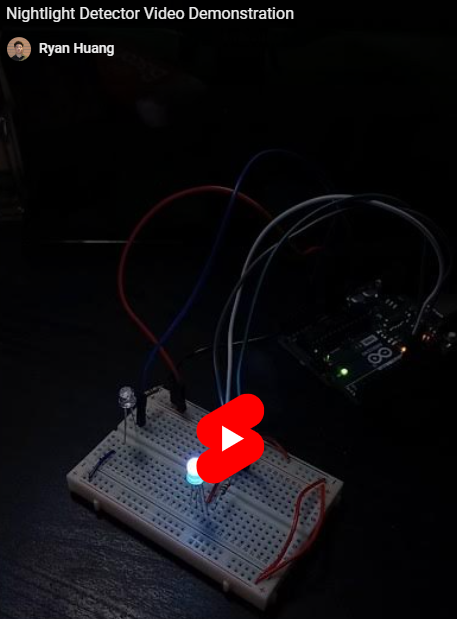
Nightlight Detector Video Demo

Problem: I wanted to explore how sensors can interact with lighting to create a responsive nightlight. The goal was to adjust light intensity automatically based on ambient conditions, providing a simple and interactive learning experience.

Solution: I built a system using a phototransistor to sense ambient light and an RGB LED to display white light at varying intensity. I mapped and constrained analog readings to the 0–255 range to control color mixing accurately and calibrated the sensor for correct readings.

Impact: This project taught me how to integrate analog sensors with RGB LEDs, perform calibration, and manipulate color intensity in response to real-world inputs. I gained practical experience in sensor data mapping and responsive embedded lighting systems.

Features: Phototransistor, RGB LED, Arduino, C/C++

Whack-A-Mole Game

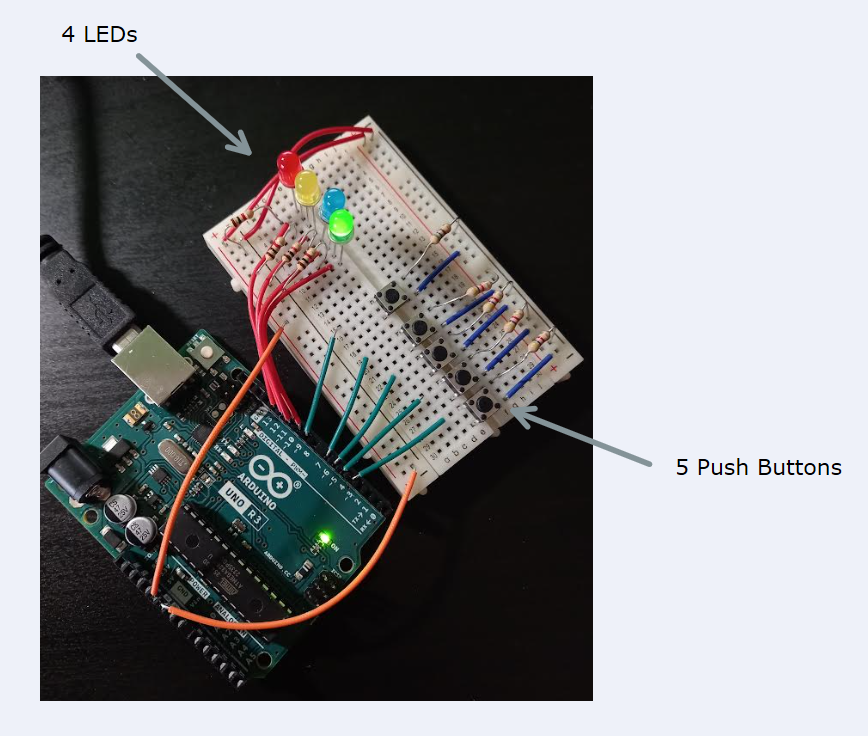
Whack-A-Mole Game Circuit
Whack-A-Mole Score Sample
Whack-A-Mole Game Video Demo

Problem: I wanted to bring a simulated class assignment into a physical system to explore real-time embedded gameplay. The goal was to create an interactive game where players respond to visual cues under time constraints.

Solution: I built a game with randomly activating LEDs, requiring the player to press the correct button within a time limit. The system included an inactivity timer that resets the game and dynamic LED sequences based on performance. I implemented button debouncing and non-blocking timing using the millis() function to track time without pausing execution.

Impact: This project taught me about real-time game logic, handling user input reliably, and managing time in embedded systems. I gained hands-on experience with responsive hardware design and programming techniques for interactive devices.

Features: Real-Time Game Logic, Button Debouncing, Non-Blocking Timing, Arduino, C/C++